26.6.1Skinning the SMART Outbound Security Module
By default, the SMART Outbound Security module will display login and approval screens which are branded as Smile CDR. The server has several pages that display branding, shown below.
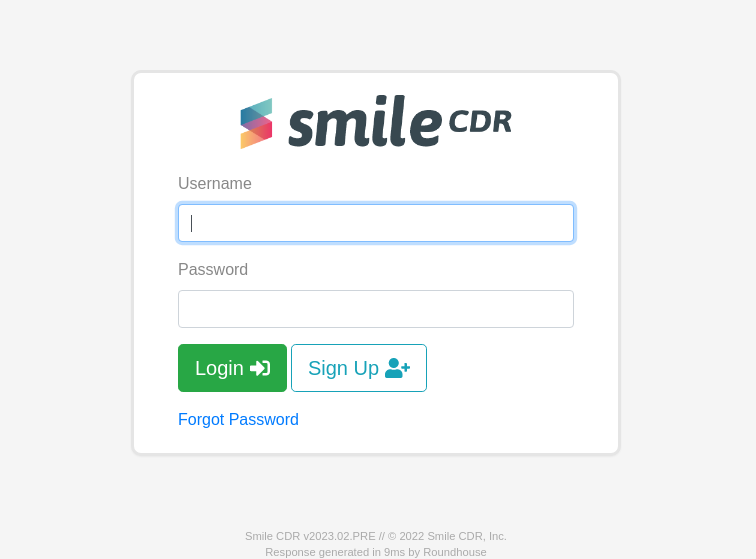
26.6.1.1Login Page
This page asks the user for credentials.
26.6.1.1.1Custom Login Page Logo
If skinning is not required and only the login page image needs to be updated, it can be configured through the admin web console by setting a Login Page Logo.
26.6.1.2Federated OAuth2/OIDC Login Page
If you are using federated OAuth2/OIDC with multiple providers to choose from, the user will not see the interactive login page shown above. Instead, they will see this page which allows them to select which provider they wish to use to log in.
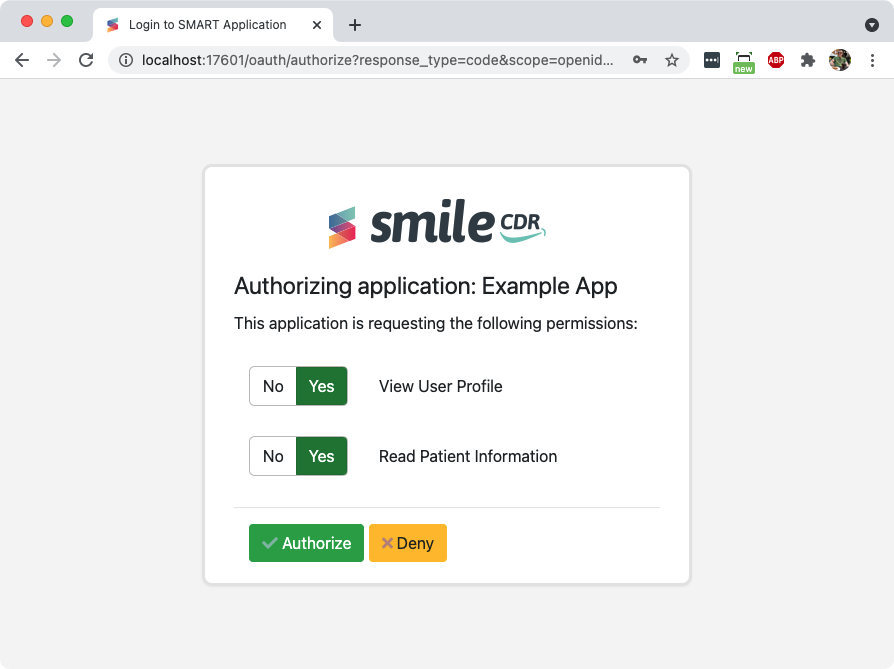
26.6.1.3Approval Page
This page asks the user to confirm that they wish to sign into the application, and requests confirmation of the OAuth2/SMART scopes being requested by the application.
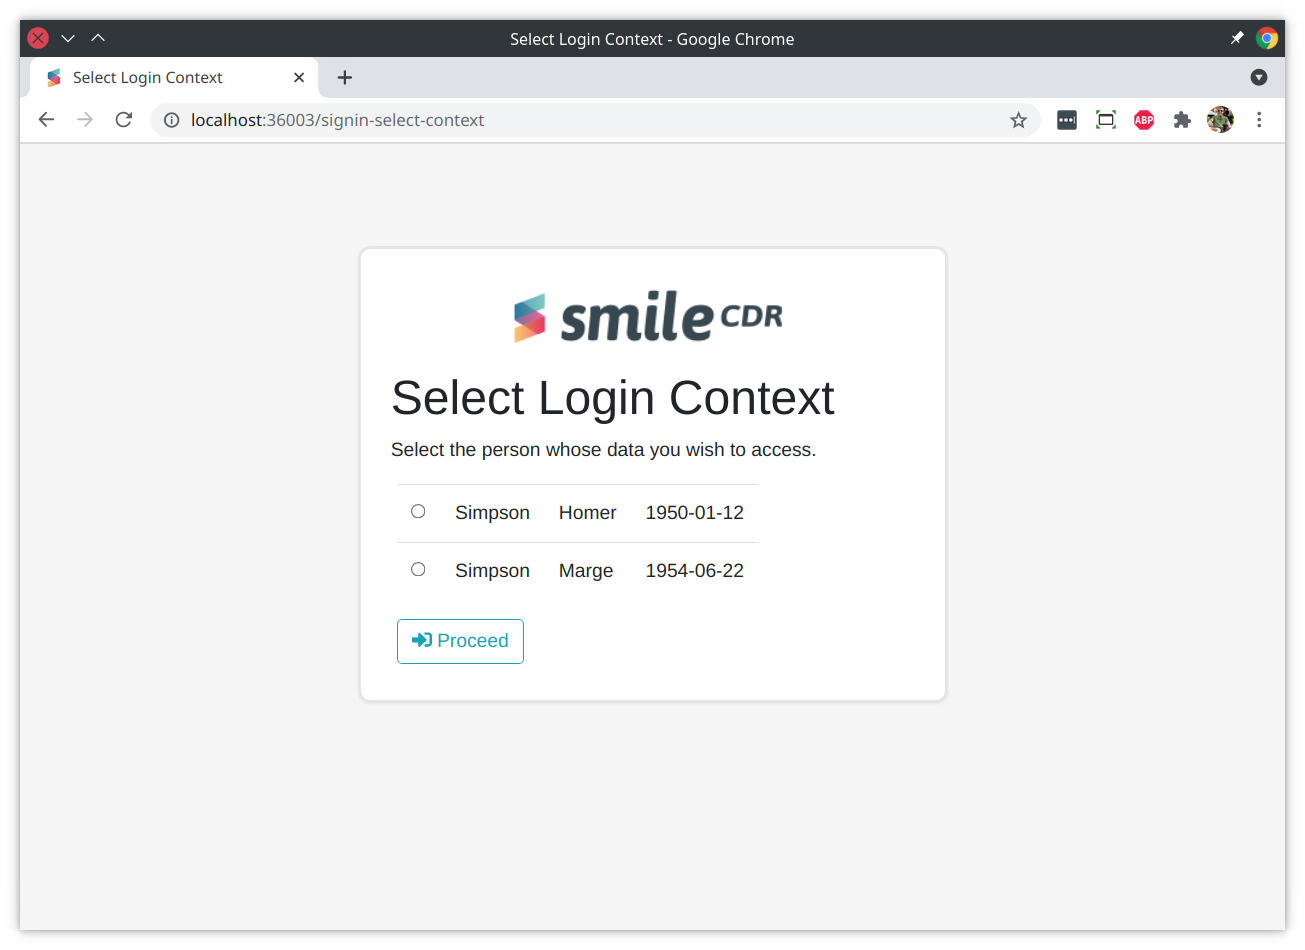
26.6.1.4Context Selection Page
This page asks the user to select a session context. See Context Selection for more information.
26.6.1.5Error Page
An error page can also be skinned if desired. This page will rarely be shown to the user, as most expected error flows do not result in the user actually being directed to the error page. Several scenarios are shown below:
- User enters invalid credentials: In this case, the user is redirected back to the login page, and an error message is shown directly on the login page.
- User rejects approval for the Client Application: This will result in the browser session being redirected back to the Client Application with an indication in the redirect URL of what the failure is. In this case, the Client Application is expected to display an error.
- User navigates to invalid link: If the user ends up on an invalid page request on the authorization server (which is typically due to misconfiguration) they will be shown the error page.
- CSRF Failure: If the user experiences a CSRF failure (which is typically due to the user's session timing out before they enter credentials) they will be shown the error page.
26.6.1.6Two Factor Authentication Page
On servers where Two Factor Authentication is enabled, the page used to request a 2FA code can be skinned as well. This page will display a text box that a user may use to enter their TFA code.
26.6.1.7Terms-of-Service Page
On servers where Terms of Service is enabled, the page used to present the TOS should be skinned to present the agreement. This page will display agree and reject buttons.
26.6.1.8Revocation Page
This page allows the user to revoke any previously approved scopes and any active tokens. See Revocation Page for more information.
26.6.1.9Registration Step 1 Page
This page is the first step in the User Self Registration flow. See Self Registration for more information on this flow.

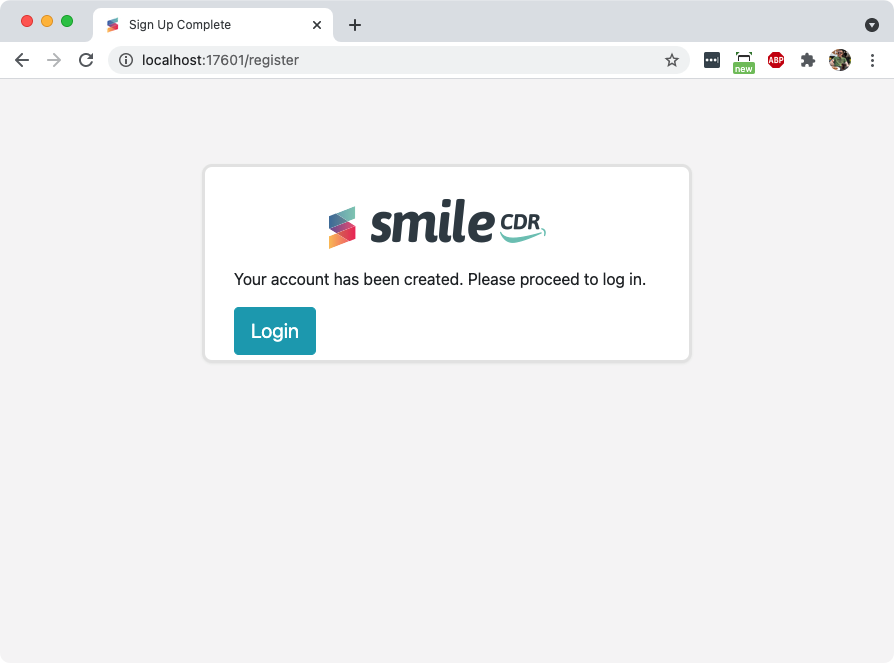
26.6.1.10Registration Step 2 Page
This page is the second step in the User Self Registration flow.
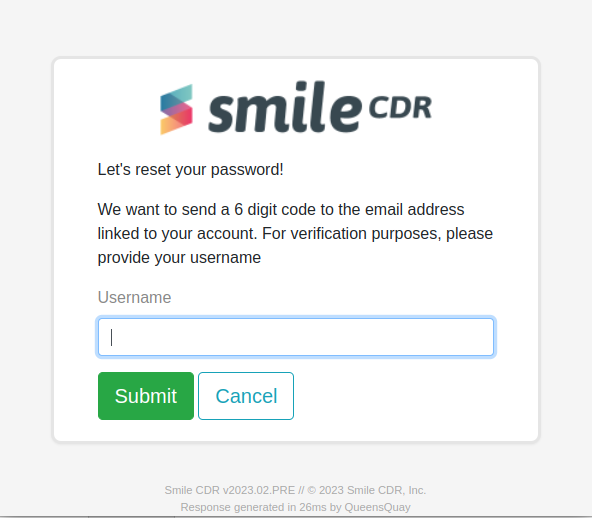
26.6.1.11Forgot Password Step 1 Page
This page is the first step in the flow allowing a self registered user to change or update their password.
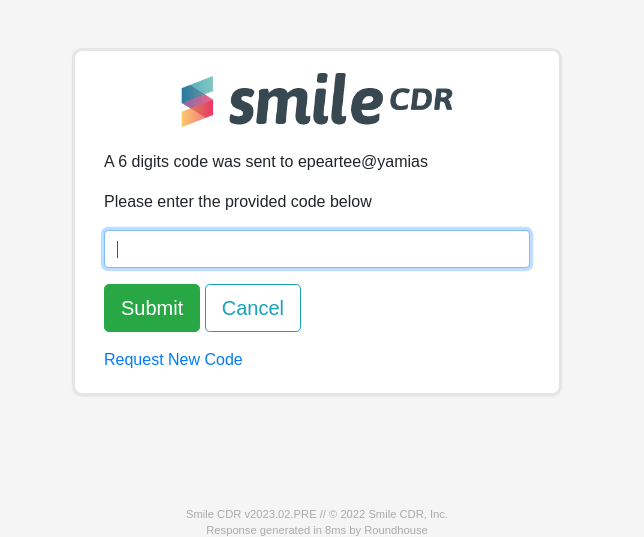
26.6.1.12Forgot Password Step 2 Page
This page is the second step of the forgot password flow where the user enters a 6-digit code provided through email.
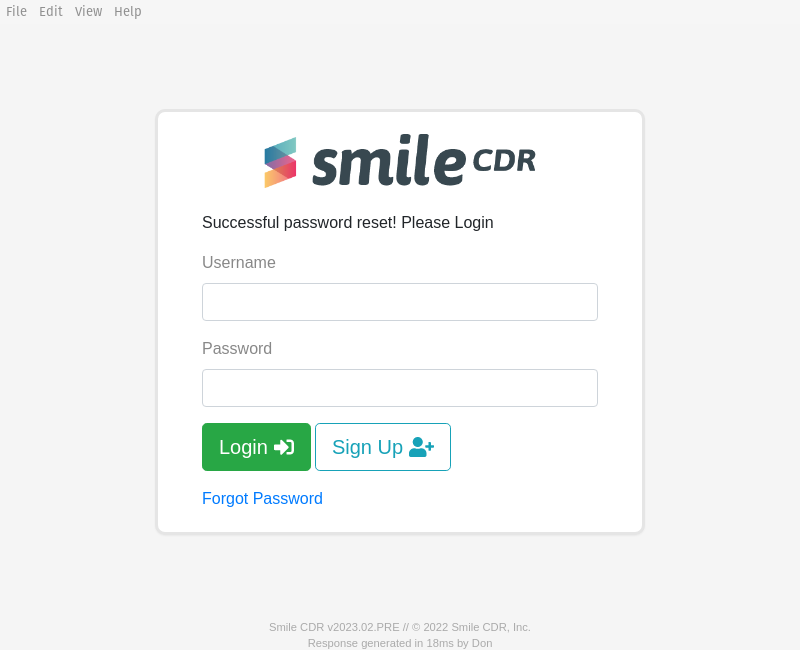
26.6.1.13Forgot Password Step 3 Page
This page is the third step of the forgot password flow where the user enters a new password.

26.6.2Creating a Skin
Skins for the SMART Outbound Security module are created using a format called WebJars. A WebJar is essentially a JAR (zip) file containing your web resources (HTML, CSS, JS, etc.) in a specific structure.
Your Skin JAR file will have the following properties:
groupId: This is a Java-style package name, often just your company domain name backwards (e.g.com.example). This is simply an identifier, you can choose anything you like here.artifactId: This is an identifier for your skin. It should not have spaces but can be any string you like (e.g.my-custom-skin).versionId: A version number for your skin. Generally you should simply use1.0here (future versions of Smile CDR may introduce live updating or other features that use the version ID but for now it does not matter what version you pick).
The contents of the JAR will be as follows:
/META-INF/resources/webjars/[artifactId]/[versionId]/sessionmanagement.html
/META-INF/resources/webjars/[artifactId]/[versionId]/userapprove.html
/META-INF/resources/webjars/[artifactId]/[versionId]/usererror.html
/META-INF/resources/webjars/[artifactId]/[versionId]/userlogin.html
/META-INF/resources/webjars/[artifactId]/[versionId]/userlogin_oauth2.html
/META-INF/resources/webjars/[artifactId]/[versionId]/userregister_step1.html
/META-INF/resources/webjars/[artifactId]/[versionId]/userregister_step2.html
/META-INF/resources/webjars/[artifactId]/[versionId]/userselect_context.html
/META-INF/resources/webjars/[artifactId]/[versionId]/usertfa.html
/META-INF/resources/webjars/[artifactId]/[versionId]/usertfa.html
/META-INF/resources/webjars/[artifactId]/[versionId]/usertos.html
/META-INF/resources/webjars/[artifactId]/[versionId]/forgotpassword_step1.html
/META-INF/resources/webjars/[artifactId]/[versionId]/forgotpassword_step2.html
/META-INF/resources/webjars/[artifactId]/[versionId]/forgotpassword_step3.html
/META-INF/resources/webjars/[artifactId]/[versionId]/resources/css/mycss.css
/META-INF/resources/webjars/[artifactId]/[versionId]/resources/css/bootstrap.min.css
/META-INF/resources/webjars/[artifactId]/[versionId]/resources/js/loginscript.js
/META-INF/maven/[groupId]/[artifactId]/pom.properties
Note the following things about the files above:
- Within the directory structure, the directory must start with
/META-INF/resources/webjars/, but the[artifactId]and[versionId]portion should be replaced with the actual artifactId and versionId of your skin project. - The
userlogin.htmlanduserapprove.htmlpages are the actual HTML pages to use for login and approval respectively, and theusererror.htmlpage is shown in the event of an error (such as a 404 Not Found or a CSRF token verification failure). See HTML Template Files below for information on the format for these files. - All other static web resources must be in a subdirectory called
resources/. - Your webjar must also contain a file called
pom.propertiesas shown above. The contents of this file must include the following:
groupId=[groupId]
artifactId=[artifactId]
version=[versionId]
26.6.3Installing a Skin
To install your skin files, this JAR should be placed in the customerlib/ directory of the Smile CDR installation, and Smile CDR should be restarted. After this, configure the SMART Login Skin section of the SMART on FHIR Outbound Security Module in the console.
26.6.4HTML Template Files
The HTML template files use the Thymeleaf templating language. Thymeleaf is a developer-friendly format that allows templates to render directly in a browser without a backend server during development, but that allows a set of custom tags and attributes to be added.
It is not our aim to completely document Thyemleaf here, as the Thymeleaf website has excellent documentation.
There are however several key points around specific page templates:
26.6.4.1Login Page
The following variables may be used on this page to display the client details:
${client_id}– Provides the ID of the client being authorized.${client_name}– Provides the name of the client being authorized (or the ID if no name is specified).${client_scopes}– Provides the list of client scopes.${client_auto_grant_scopes}– Provides the list client auto-granted scopes.${client_attestation_accepted}– Boolean value indicating whether the client has accepted the attestation to the policy.
You can also provide a custom message on the login page. To do so, use the 'client_login_message' variable:
${client_login_message}– Provides a message to the user about to log in.
26.6.4.2Federated OAuth2/OIDC Login Page
The following variables may be used on this page to display the client details:
${client_id}– Provides the ID of the client being authorized.${client_name}– Provides the name of the client being authorized (or the ID if no name is specified).${client_scopes}– Provides the list of client scopes.${client_auto_grant_scopes}– Provides the list client auto-granted scopes.${client_attestation_accepted}– Boolean value indicating whether the client has accepted the attestation to the policy.
In addition, the variable ${servers} will hold an array of OAuth2Server objects.
26.6.4.3Approval Page
On this page, access to the logged-on user is available via the Thymeleaf #authentication.principal object. This object can be used to fetch several properties of the logged in user:
${#authentication.principal.username}– This will contain the logged in user's username.${#authentication.principal.familyName}– This will contain the logged in user's family (last) name.${#authentication.principal.givenName}– This will contain the logged in user's given (first) name.
The following variables may be used on this page to display the client details:
${client_id}– Provides the ID of the client being authorized.${client_name}– Provides the name of the client being authorized (or the ID if no name is specified).${client_scopes}– Provides the list of client scopes.${client_auto_grant_scopes}– Provides the list client auto-granted scopes.${client_attestation_accepted}– Boolean value indicating whether the client has accepted the attestation to the policy.${client_attestation_plain_language_html}– String containing raw html of the plain-language developer attestation. This is only present when the client is managed by appSphere
The following variables may be used to display individual scopes:
${scopeMap}– contains info about the scopes allowed:${scopeMap.scope}– The type of scope.${scopeMap.name}– the name of the scope.${scopeMap.hidden}– a boolean value to declare whether the scope is to be hidden or not.
The following variables may be used to display the client-populated user data:
${user_data}– contains a map of client-inputted user data
Note the following HTML:
<input type="hidden" \th:name="${_csrf.parameterName}" \th:value="${_csrf.token}" />
<input type="hidden" name="client_id" \th:value="${client_id}"/>
These hidden input fields must always be supplied in order to provide CSRF protection to the login page, and to supply the client ID being authenticated to.
26.6.4.4Revoke Page
On this page, there is one useful variable to consider:
${clients}– This variable contains a list of all clients given permission to the server. For each${client}in${clients}, there exists a:${client.clientName}– The name of the client.${client.clientID}– The id of the client in the system.${client.approvedScopes}– a list scopes that the client has access to.
Executing a POST request to the /session/management/${client.clientID} endpoint will revoke all approved permissions in ${client.approvedScopes}
The following variables may be used to display the client-populated user data:
${user_data}– contains a map of client-inputted user data
26.6.4.5Terms of Service Page
The following variables may be used on this page to display the client details:
${client_id}– Provides the ID of the client being authorized.${client_name}– Provides the name of the client being authorized (or the ID if no name is specified).${client_scopes}– Provides the list of client scopes.${client_auto_grant_scopes}– Provides the list client auto-granted scopes.${client_attestation_accepted}– Boolean value indicating whether the client has accepted the attestation to the policy.
The following variables may be used to display the client-populated user data:
${user_data}– contains a map of client-inputted user data
26.6.4.6Context Selection Page
The following variables may be used to supply the choices to display:
${choices}– Provides the actual choices that should be displayed to the user. This object is of type OAuth2SmartContextSelectionChoices.
The following variables may be used on this page to display the client details:
${client_id}– Provides the ID of the client being authorized.${client_name}– Provides the name of the client being authorized (or the ID if no name is specified).${client_scopes}– Provides the list of client scopes.${client_auto_grant_scopes}– Provides the list client auto-granted scopes.${client_attestation_accepted}– Boolean value indicating whether the client has accepted the attestation to the policy.
The following variables may be used to display the client-populated user data:
${user_data}– contains a map of client-inputted user data
26.6.4.7Error Page
On the error page, there are several variables available during template execution:
${statusCode}– This will contain the HTTP status code associated with the error, e.g.404or403.${statusTitle}– This will contain the description associated with the HTTP status code, e.g.Not Found.${uri}– This will contain the path being requested, e.g."/"or"/oauth/token".${message}– This will contain a message about the error.
26.6.4.8Registration Step 1 Page
${username}– If a value should be prepopulated (e.g. because of a validation failure on submit), this will contain the username.${email}– If a value should be prepopulated (e.g. because of a validation failure on submit), this will contain the email address.${familyName}– If a value should be prepopulated (e.g. because of a validation failure on submit), this will contain the family name.${givenName}– If a value should be prepopulated (e.g. because of a validation failure on submit), this will contain the given name.${client_id}- Provides the ID of the client being authorized${client_name}- Provides the name of the client being authorized (or the ID if no name is specified)${client_scopes}- Provides the list of client scopes${client_auto_grant_scopes}- Provides the list of client auto-granted scopes${client_attestation_accepted}- Boolean value indicating whether the client has accepted the attestation to the policy
26.6.4.9Registration Step 2 Page
${client_id}- Provides the ID of the client being authorized${client_name}- Provides the name of the client being authorized (or the ID if no name is specified)${client_scopes}- Provides the list of client scopes${client_auto_grant_scopes}- Provides the list client auto-granted scopes${client_attestation_accepted}- Boolean value indicating whether the client has accepted the attestation to the policy
26.6.4.10Forgot Password Step 1 page
${forgot_password_client_error_message}– Any error message that needs to be provided to the user following the submission of their username.
26.6.4.11Forgot Password Step 2 page
${client_email}– Provides the email address to which the identification code was sent to. This address was supplied by the user during self registration.${forgot_password_client_error_message}– To report error message resulting from the validation of the user supplied identification code.
26.6.4.12Forgot Password Step 3 page
${forgot_password_client_error_message}– Any error message resulting from the validation and processing of the user supplied passwords.
26.6.5Sample Skin Project
A sample SMART Outbound Security module skin is available on our Demo Projects page.